I optimize all of the images I use on The New Leaf Journal in order to reduce their size and increase our site’s performance for visitors. In the early days of The New Leaf Journal, I used a WordPress plugin to optimize images that I uploaded to the site. However, at some point in early 2022, it occurred to me that I could uninstall the plugin and optimize the images before uploading them, thus allowing me to use one less plugin and have more control over the optimization. Today, I will share with you the fully free and open source tool I use to optimize images: YOGA Image Optimizer.
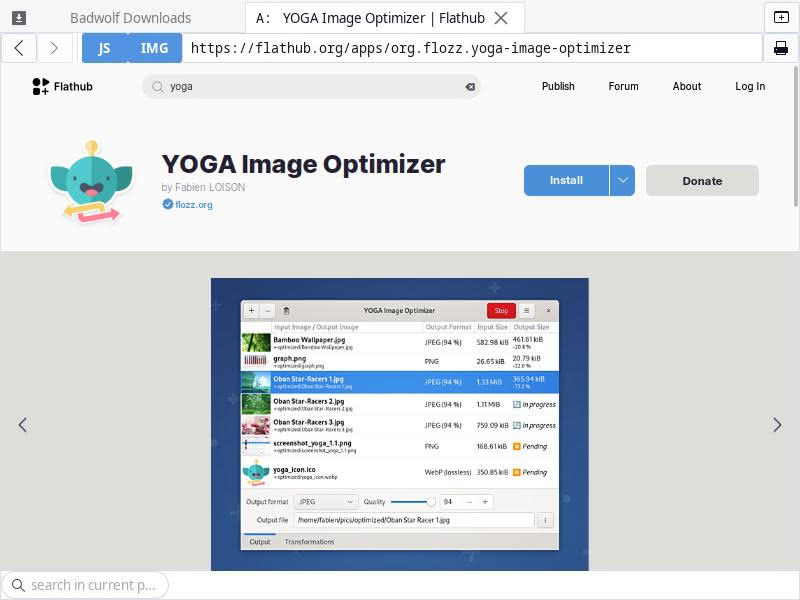
YOGA Image Optimizer is an open source graphical front-end for YOGA Image. YOGA Image Optimizer’s source code is on GitHub, as is the source code for YOGA Image (note: YOGA stands for “Yummy Optimizer for Gorgeous Assets”). The YOGA Image Optimizer graphical tool that I use is maintained by Fabien Loison while YOGA is maintained by Wanadev.
Before continuing, note that I am only reviewing YOGA Image Optimizer based on how I actually use it. As I will explain, I use it to reduce the size of relatively small JPEG images (usually 800 px at the longest length) for publication on a minimal, writing-focused WordPress-powered website. I am content so long as my photographs are optimized and come out looking close enough to the originals. YOGA is touted as being a general-purpose image optimizer including for much higher end use-cases, so do not interpret my own experiences as implying that it is a low-end tool. I am only focusing on low-end uses because that is what I personally use it for.
Installation
Before continuing, note that you can use YOGA from the command line to optimize images without the graphical YOGA Image Optimizer tool that I use. For my purposes, I prefer the graphical tool because it is more efficient. Optimizing images locally instead of having it done automatically after uploading them to WordPress already adds some friction to my workflow. Being able to open up a nice simple graphical tool and either drag and drop images or add them from my file manager – all while being able to toggle the quality and change the output file name if need be – works best for me. Because I only use the graphical tool, this review will only focus on the YOGA Image Optimizer front-end and not the underlying CLI options. But I have linked to the source code and documentation for the CLI tools for those who are interested.
YOGA Image Optimizer is available for Linux and Windows. I have only used it on Linux, but you can obtain the Windows release from the tool’s website or GitHub repository (as always, Windows users should get the tool directly from the source).
On Linux, it can be built from source or installed from Flathub or PyPi (see repository). The GitHub page says that there is an Arch User Repository package, but the link there is dead (as of January 17, 2024) and searching the AUR turns up no results. I run EndeavourOS, a close derivative of Arch Linux, and I did at one time run the AUR package before having some issues (I no longer recall the issues) that caused me to switch to the Flatpak. I have been running the Flatpak for well over a year with no problems whatsoever.
Using YOGA Image Optimizer
This is what YOGA Image Optimizer looks like when it is first launched:

There are two ways to add images to it. You can use the plus sign on the top left of the menu bar to open your file explorer or you can drag and drop an image into YOGA. I must confess that I usually opt for the drag and drop solution. YOGA Image Optimizer only handles JPEG, PNG, and WebP images, so you will need a different solution if you are working with other image formats.
YOGA Image Optimizer has a small number of options, accessible from the three dot menu on the top right of the menu bar.

I have never bothered changing the defaults – although I could certainly add more threads for more aggressive optimizing. Besides threads, the most important option is at the bottom – “Default output files location.” You can either have optimized images saved in the same directory as the image being optimized (YOGA can add “opti” to the optimized version or you can give it your own renaming custom pattern), or it can save optimized images in a sub-directory called “optimized”in the same directory as the image being optimized. I prefer the sub-directory solution, which is enabled by default, since I usually give images their final names before optimizing them. The option is there,however.
There are also five different theme options and a dark theme toggle. The default Arc-Darker theme is the best fit with my XFCE desktop, but some of the other themes may look better with different desktop environments. One theme – the Windows 32 theme – will stick out in the vast majority of desktop environments, so I will use that as my extra theme screenshot example:
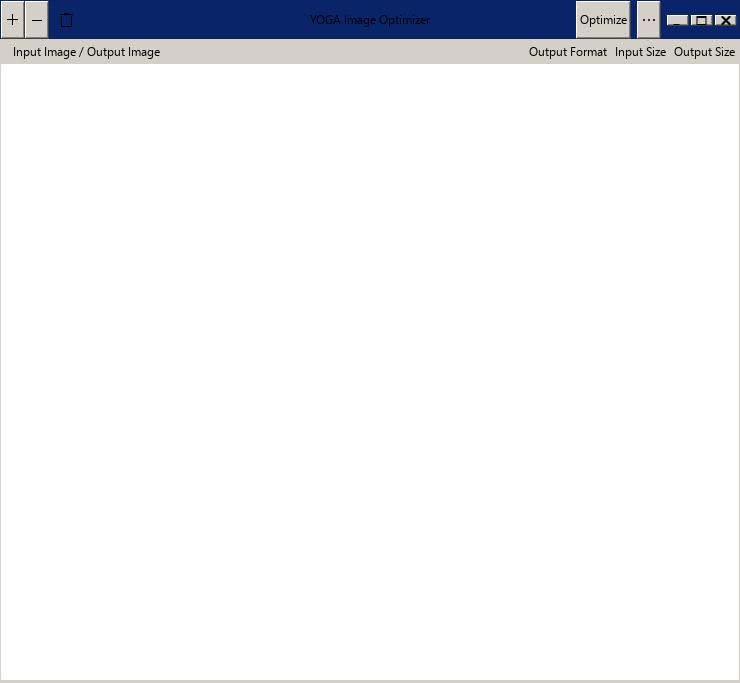
I will stick with Arc-Darker.
In order to demonstrate what YOGA Image Optimizer looks like in action, I thought it would be fun to take screenshots of it optimizing the screenshots that I am using in this article (shades of my Recursive Fun With Yandex Search Carousels article from November 2020).
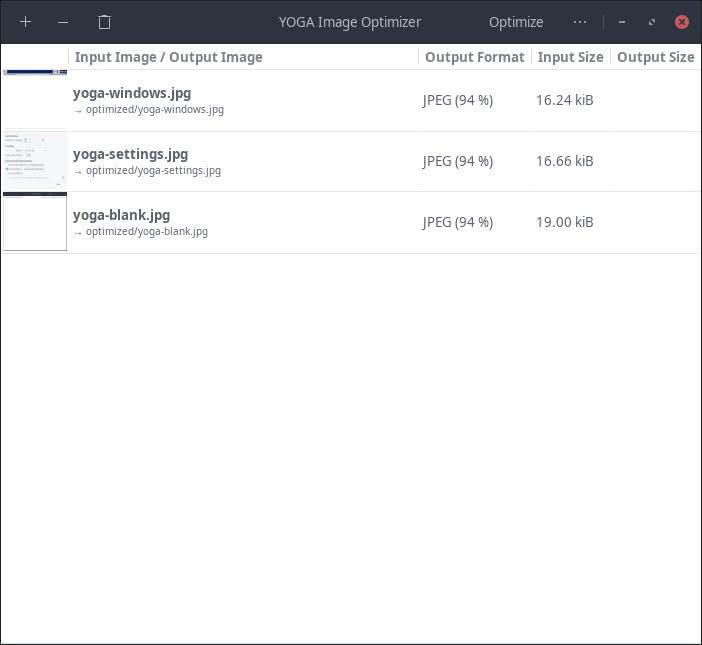
What you see pictured above are the original, un-optimized versions, of the three screenshots I posted above in YOGA Image Optimizer before they were optimized. There are a few options you can toggle before optimizing the images – all accessible on the bottom of the window.
Look at the bottom of the window. First, you can choose the output format for your new image: The options are JPEG, PNG, and WebP. I almost always work with JPEG images and very rarely with PNG images. I will note that in cases where I am going from PNG to JPEG, I usually convert the image before adding it to YOGA Image Optimizer. I found that the PNG to JPEG conversions while optimizing were slow, but your mileage may vary. I do not work with WebP images so I have no insight to offer there.
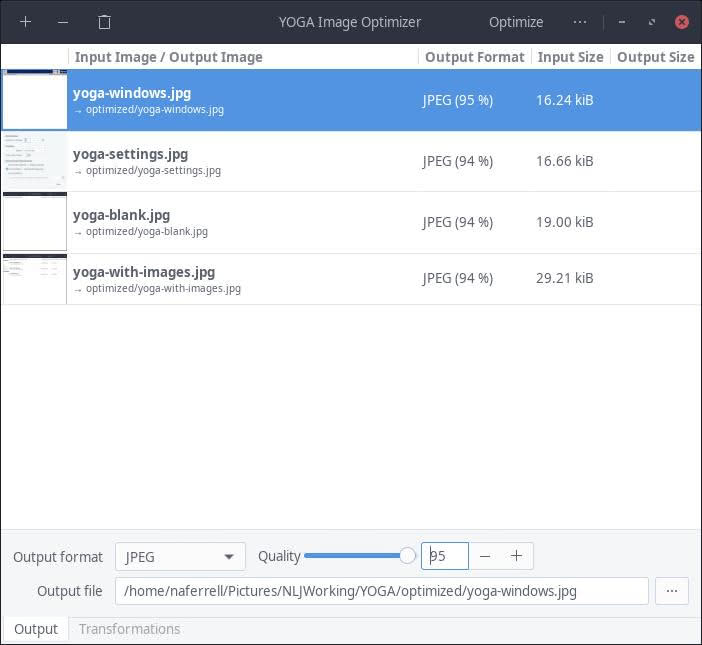
One option I do use sometimes is the quality toggle. Here, you can determine what quality your optimized image will be. Lower numbers equal smaller output images but lower quality. By default, YOGA starts at 94% quality. Because I use small images (in terms of pixels) on The New Leaf Journal to begin with, I usually stick with 94%, but there are some cases where I go lower. Note that there are rare cases in which 94% actually produces a bigger optimized image than the original. I have run into this with some screenshots from the old al|together visual novels that I am reviewing – specifically the heavier (it is relative) screenshots can come out bigger at 94% optimization. In those cases, the original images are usually small enough that I upload them without optimization.
Now let us see YOGA Image Optimizer in action:
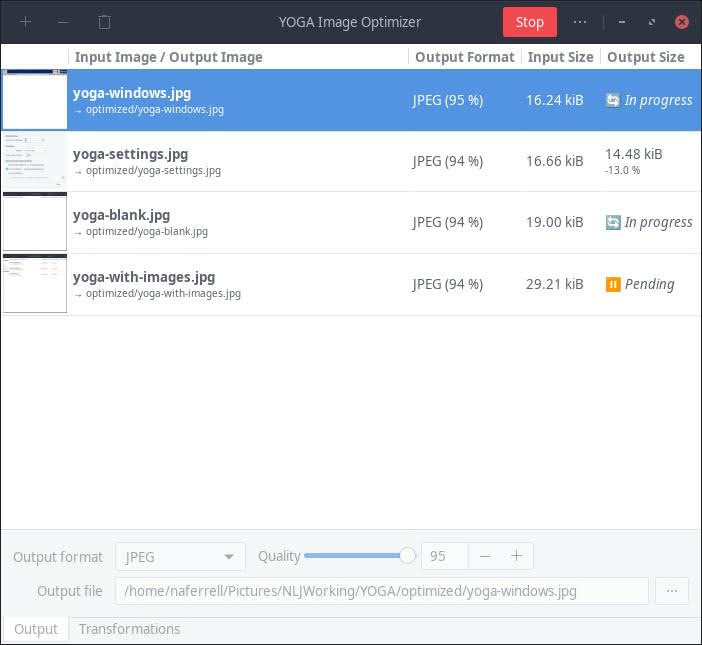
Here, you can see YOGA in the process of optimizing four of the images in this article (not the immediately previous image, however – I forgot to optimize that one until I was already writing this article). The second image is done (reduced from 16.66 kiB to 14.48 kiB), two are in progress, and the third is waiting for at least one of the two in-progress images to finish (I could and probably should set it to handle more than two at once).
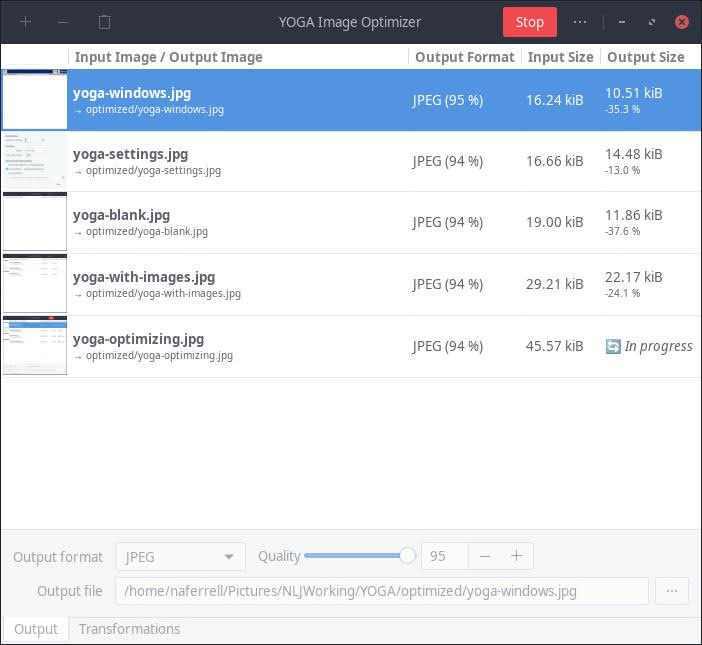
Now the first four images are done, and we are optimizing the screenshot of the image I had just posted.
My YOGA Image Optimizer Review For My Simple Use-Case
YOGA Image Optimizer works very well for my very simple image optimization needs. I want to compress relatively small images locally before uploading them to The New Leaf Journal, and I want my optimized photographs to look reasonably close to the originals. My needs are simple because The New Leaf Journal is a relatively minimal website – not a photography portfolio — and I tend to limit images to 800 px on their longest dimension. YOGA is fast enough for my purposes, especially since I am usually writing or formatting an article while the images are cooking, but it can take somewhere in the one minute neighborhood for some of my bigger New Leaf Journal photos. Its speed may depend on your hardware (the website cautions that it can be RAM-hungry). I have a solid – not amazing computer – but with an above average 32 GB of RAM (see my full specs). I will note that it can take much longer for bigger photos than what I work with in the optimization context (e.g., I fed it a 3.40 MiB and 1.01 MiB image on default settings and asked it to handle both simultaneously – the smaller one took about 7 minutes – but I have not played around with the settings or anything else to figure out what the best experience would be on my hardware).
I have not compared YOGA Image Optimizer and the underlying YOGA to other image optimization solutions because once I determined that it met my optimization and quality requirements, I had no reason to test other tools. Moreover, because I do not have high-end optimization needs, I cannot say whether YOGA is the right tool for use cases other than my own. But for my own use-case – handling relatively small images and photographs for posting on a minimal WordPress website – it works very well. If your use-case is similar to mine, and especially if you are running a WordPress site or other blog and relying on a heavy plug-in solution, I recommend considering it. I will say without equivocation that it is much better than any of the free WordPress plugin solutions I tested before going local-first.