I used the default camera app on my LineageOS-powered Pixel 6a phone to take a photograph of a pill bug while I was in Texas.
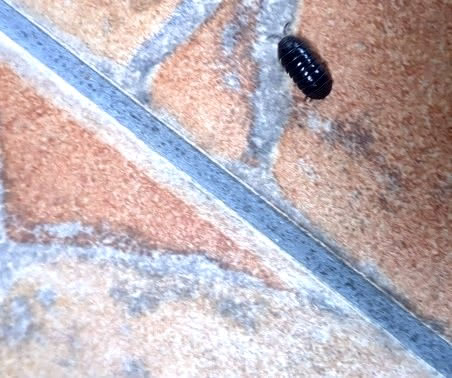
Why did I do this? As my friend and colleague Victor V. Gurbo noted when I sent him my artistic creation, pill bugs are adorable.
(We will set aside the fact that pill bugs are not bugs as being beyond the scope of the instant article.)
If a pill bug is adorable in photographic form, it will surely be adorable in video form. I created a 5 second video of the pill bug walking and exiting stage right.
I knew that I needed to share this art with New Leaf Journal readers. But how? I do not upload videos directly to The New Leaf Journal. Videos are big – even five second ones. It occurred to me after some reflection that a 5 second video of a waddling pill bug makes for a better GIF than movie. It has been a while since I featured a GIF in these leaves.
There was but one snag in my plan: How do I make a GIF? I must confess that I had never asked myself this question prior to putting together this article.
The Final GIF
Before I recount my GIF making journey, I share the final result:
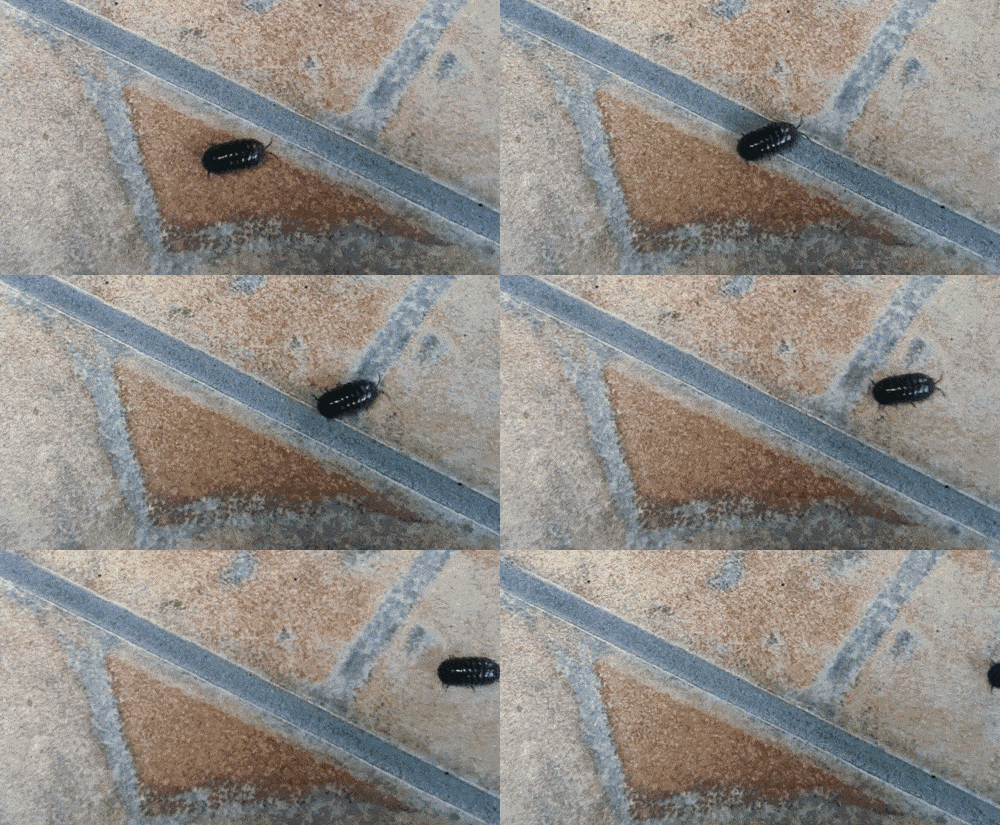
This GIF was worth all the love and effort I put into creating it.
The pill bug was walking on stone tiles adjacent to a backyard. A wall, which ran for about 15-20 feet along where I was sitting, blocked the pill bug from the grassy yard. It appeared to be on a power-walk to get to the soil. It was making good time – I looked about one minute after shooting the video and by that point it was close to returning to nature.
Now for my GIF-making story…
Creating the GIF
I ran a search for turning mp4s into gifs on Linux. The search proved fruitful: I found a guide by It’s FOSS, a Linux-focused site that I have probably featured either here or in my weekly newsletter at some point. It’s FOSS suggested two open source methods of video-to-gif conversion, I opted for the first one which has us use ffmpeg from the command line.
Provided that ffmpeg is installed, It’s FOSS counsels us to enter the following into the command line:
ffmpeg -i input_video_file output.gif I already had ffmpeg installed on my system. Let us test:
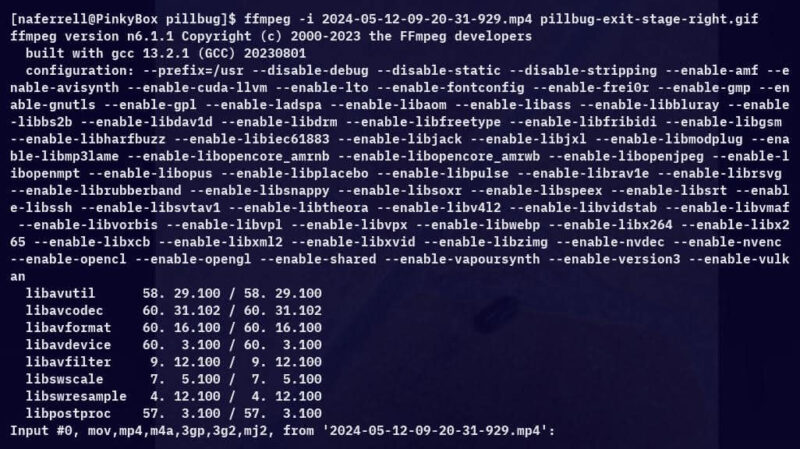
It worked.
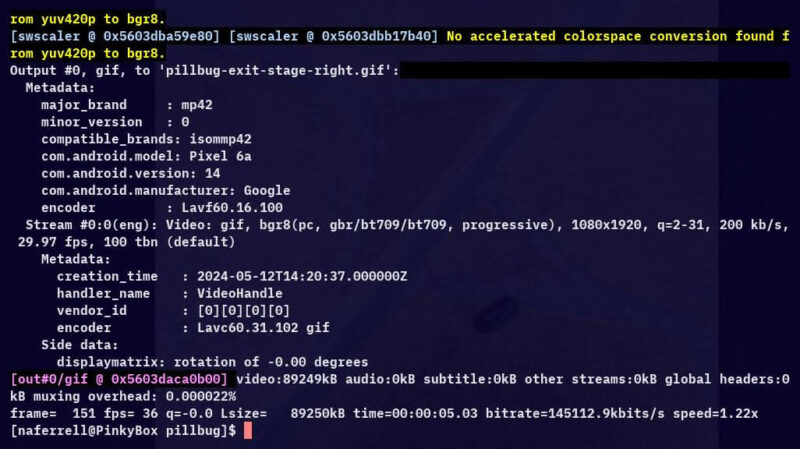
I now had a gif. The gif is big though – bigger than the original video. Could I modify the GIF to make it more website friendly? The Its FOSS article recommended a graphical tool called gifcurry as an alternative method for turning videos into gifs. While I no longer needed to turn a video into a gif, I figured the tool may have some options for cropping gifs. I downloaded and installed the Appimage from its GitHub repository and got to work.
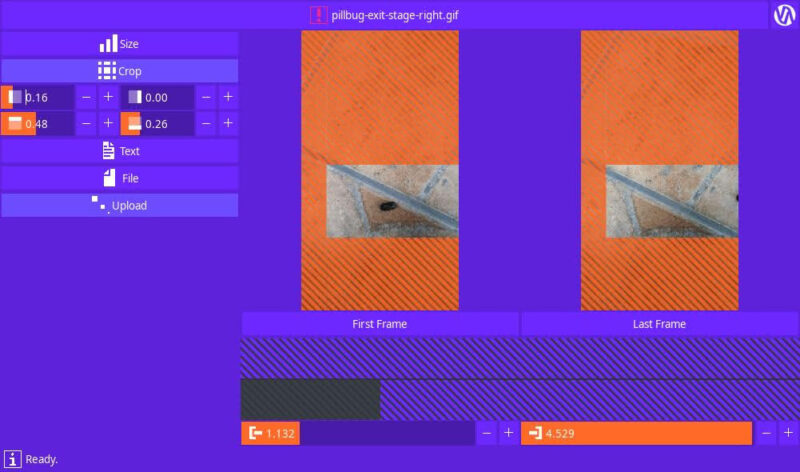
It took me longer than I would like to admit to figure out how to save the cropped GIF, but I eventually figured it out. Now I had one last step before publishing. The cropped GIF comes out to be 11.1 MiB, which while not big in the grand scheme of things is big for a New Leaf Journal upload. Could I compress it? My preferred graphical tool for compressing images does not handle GIFs. I needed an alternative. Some quick searching led me to a DigitalOcean guide for using gifsicle to optimize GIFs from the command line. I installed gifscile and then tried Digital Ocean’s recommended command to see if the output would be satisfactory (note I substituted the names of my GIFs into the code).
$ gifsicle -O3 --lossy=80 --colors 256 pillbug-exit-stage-right-cropped.gif -o pillbug-exit-stage-right-nlj.gifI posted the final output of the compression near the top of the article. To be sure, I could not really tell the difference between the compressed and un-compressed versions of the GIF. The optimized GIF came out to be 4.8 MiB, meaning it was just about 57% smaller than the original.
This concludes my GIF-making adventure. I thank It’S FOSS and Digital Ocean for their very to-the-point guides, both of which detailed everything I needed to know to convert a video into a GIF and modify the GIF for publication using only free and open source tools on my Linux system.